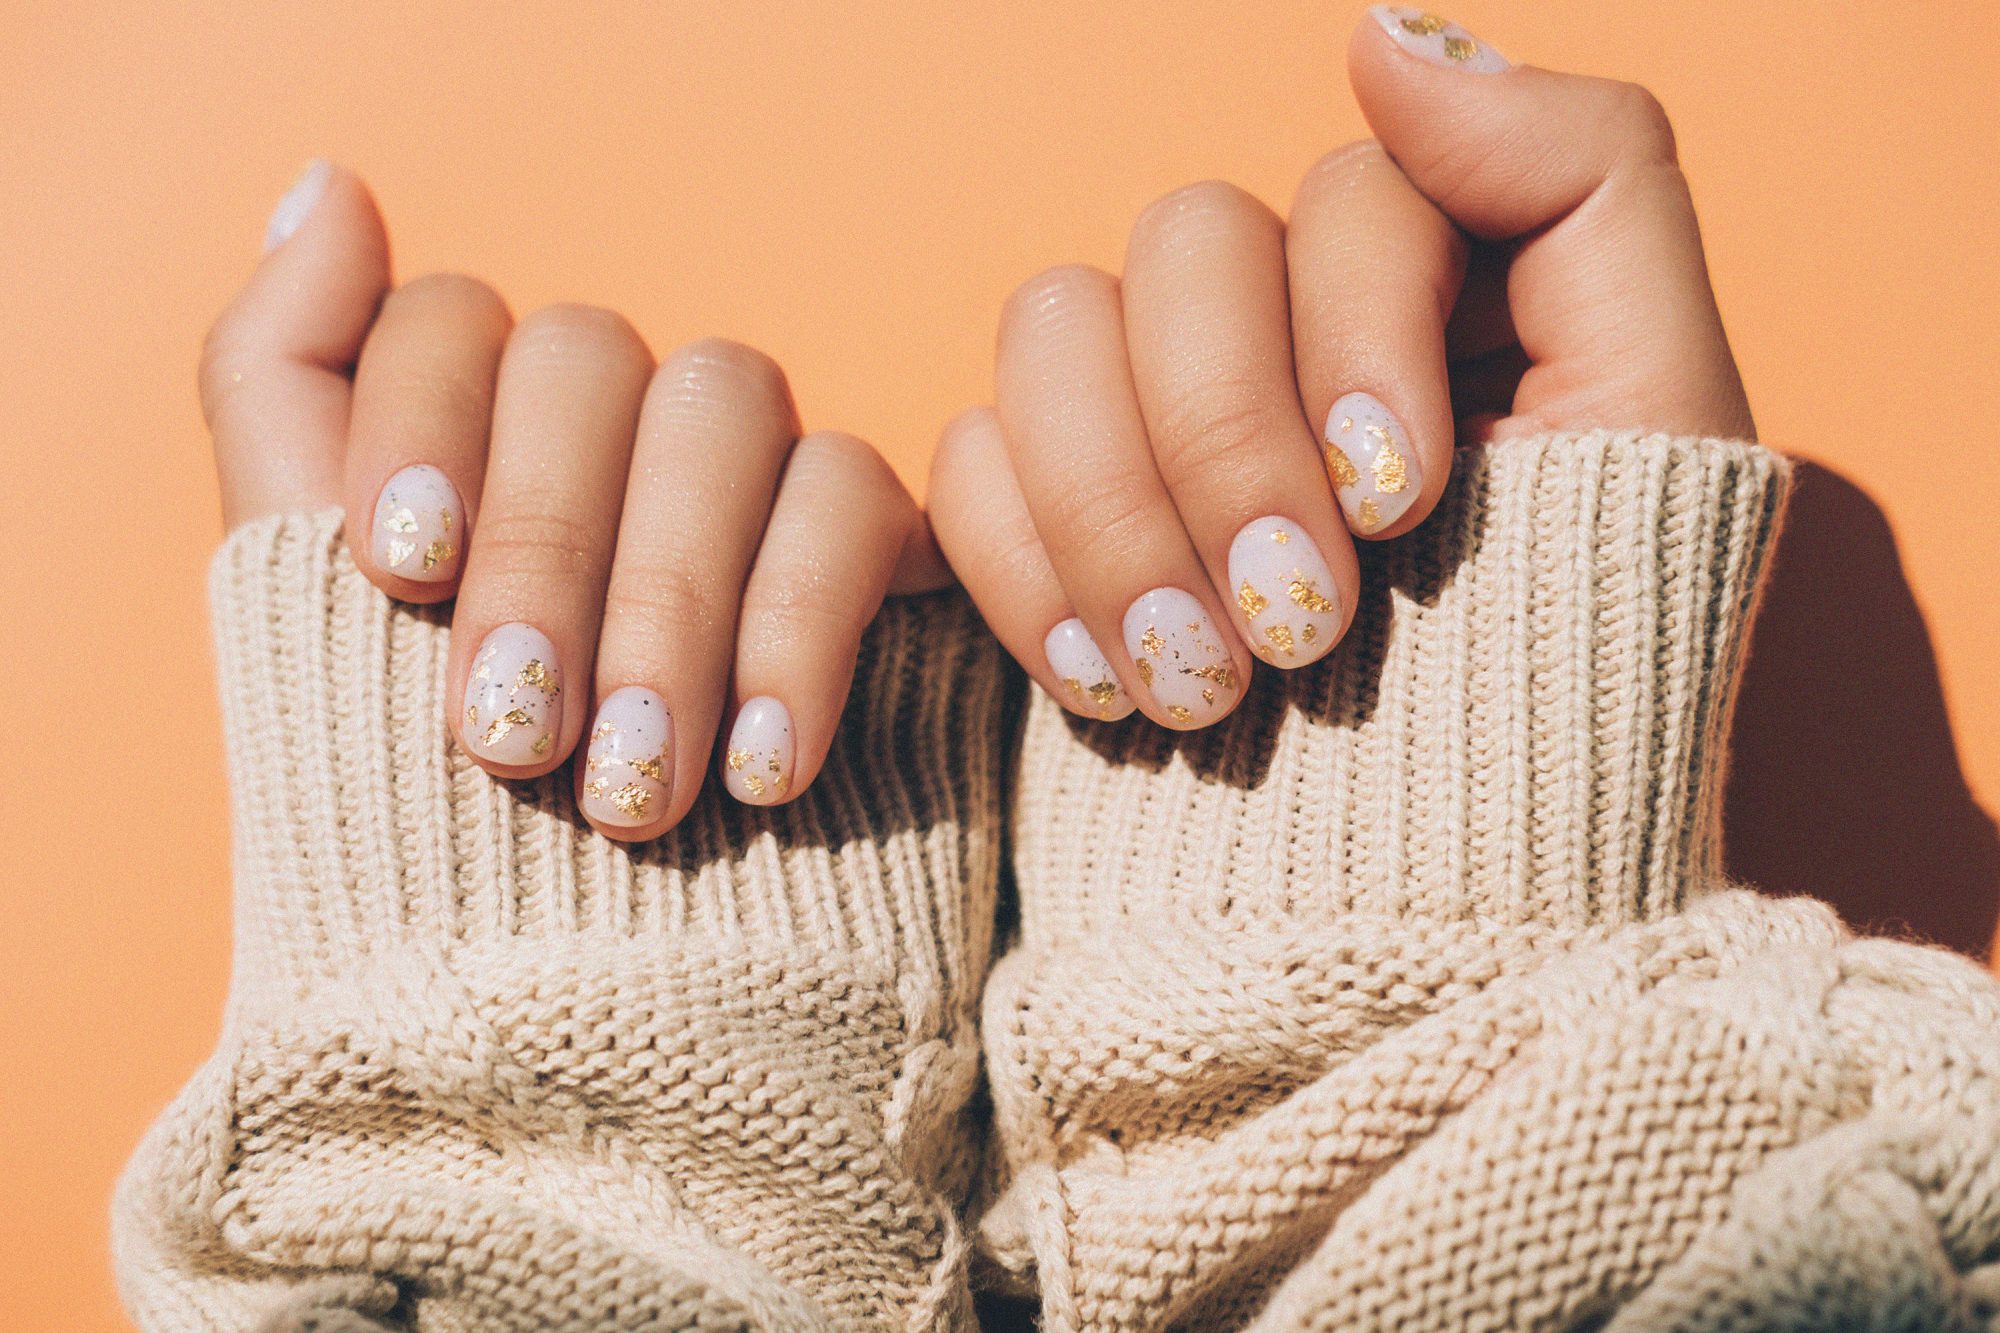
It’s safe to say that everyone wants nice nails. Whether you’re interested in trying fun colors and designs on your nails or you just want clean manicured fingers, having nice nails is a boost of confidence. Just think of all the things you do with your hands in public settings, from typing on your computer at work, picking items out at the store, ringing them through the checkout, eating your lunch—your nails are pretty much on display all the time.
An age-old question (at least in the beauty world) is: What kind of nail products are the best for ensuring well-groomed and long lasting nails? There are many different options, like plain polish, gel, shellac, stick-ons, press-ons, and dip powder. Each method varies in its ease of application, expected time it will last, and how it affects the nails, which is why people have varying preferences.
Our newly discovered favorite is nail dip powder. You can get this done at the salon, but it’s also simple to complete your dip nail application at home, which is our vote. Any way to save money and time is a win for us. Not only does dip powder leave your nails looking like they’ve just come from a professional salon manicure, it also lasts a lot longer than your average coat of nail polish (we’re talking three to six weeks chip-free). It’s a great way to give your nails a strong coat of varnish like gel and shellac do, but while also strengthening and protecting your nails by letting them safely grow out. If you want to learn more about this remarkable way of doing your nails, keep reading for a step by step guide on the application process.
How To Start With Dip Powder—Choose Your Application Method
The first step to elevating your nail game with dip powder is to find your preferred method of application. As mentioned, you can get them done at the salon, but we all know how expensive regular salon visits can be. Since having nice nails in a frequently shifting assortment of colors is one of the simpler pleasures in life, we wanted to find a way to save time and money with at-home nail application alternatives. Fortunately, our wishes were granted!
You can buy an at-home dip powder kit, plus shop all the additional colors and designs your heart desires in the same place. The kit needs to include all the materials you need: build powder, dip powder (providing those fun colors we love), base coat, activator, top coat, brush cleanser liquid, a tool kit (with a nail file, cuticle pusher, and brush), and remover clips for when you’re ready to change up your look. We’ll explain the use of these products as we go through a step by step guide on how to dip your nails at home. But the first step is to select an at-home kit with your chosen dip colors.
Prepare the Nails
Now that you’re all set with your kit, you first want to prepare your nails for the star treatment. No one wants to apply gorgeous nail varnish to rough, dry nails with overgrown cuticles. Use your nail tools to push back your cuticles and shape your nails. Then lightly buff them for a longer lasting manicure.
Coat the Nails in the Base Coat Liquid
Next, time to apply a layer of the base coat liquid. The base coat acts like a glue for the powders to stick to, giving you that professional look. It’s best to coat each nail at a time and then dip right after so the liquid doesn’t dry. For the best application, apply the base coat, dip it in the build powder, apply another round of base coat, then dip in the colored powder.
Dip Each Nail in Colored Powder
The moment you’ve waited for: the colored powder dip. This is the fun part. After applying the second base coat, dip your nail into the dip powder at a 45 degree angle, then remove after a few seconds. It can help to angle the dip powder jar so you can better see how you’re coating your nail. If you want a more vivid color, you can dip one more time right after. Take your brush and sweep off the excess powder on your cuticles.
Apply the Activator
Don’t skip this next step, because it’s an important one. In order to finish your application with strong nails that last, you need to apply the activator liquid to protect the dip powder and your nail beneath. Brush on a full coverage coat, wait a few minutes, and then file your nails around the edges before applying another coat. This is also the part where your nails start to look amaaaazing.
Apply the Top Coat
Lastly, apply a layer of the top coat liquid and let it dry. You can be kind to your future self by spritzing your brush with the cleaner liquid so it’s fresh for next time, but your manicure is complete!
Dip nails allow you to create professional looking nails quickly at home that will last you weeks due to their durability. The only hard part of the process is choosing which color you want to rock today!