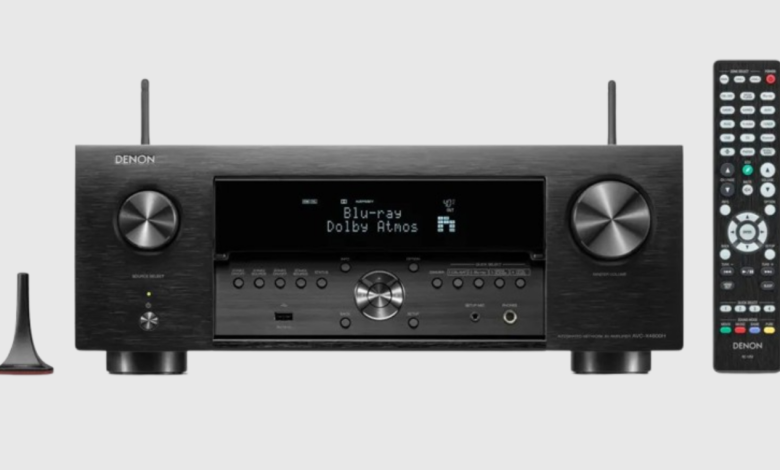
How to Set Up Your Denon AVC-X4800H for Optimal Home Theater Performance

If you have the Denon AVC-X4800H grace your electronics, you have just gotten your hands on perhaps the most capable and powerful AV receivers ever built to elevate home theatres to an entirely new level. However, like all highly advanced pieces of equipment, it is paramount that you set it up properly to enjoy the best possible performance.
In this post, we will outline the general process of setting up your Denon AVC-X4800H and optimise it for ultimate performance. Whether you are an absolute newbie or have been around the AV block, below is a step-by-step guide that will get you running.
Step 1: Place Your Denon AVC-X4800H
First and foremost, take your Denon X4800H out of its box and place it somewhere. You’ll want it to be in a well-ventilated area, as these AV receivers tend to get a little warm when pushing your speakers to their limits. Place it in an entertainment centre if necessary. However, ensure enough airflow.
Most of us keep our AV receivers near the TV or projector, which is a good decision since you’ll need to connect it to your display and various devices.
Step 2: Connect Your Speakers
The next step is connecting your speakers. The Denon AVC-X4800H supports up to 9.4 channels, meaning you can set up an immersive 7.2.2 or 5.2.4 Dolby Atmos system. If you’re new to home theatre lingo, you can have as many as nine speakers, some of which can be normal speakers and up to four subwoofers for real low-end punch.
Here’s what each channel means:
Front left, centre, and front right: These are your main speakers.
Surround left and surround right: These are placed to the sides of your ear-level seating area.
Height speakers or Atmos: These can be in-ceiling or upward-firing speakers for that overhead sound effect in Dolby Atmos setups.
Use good-quality speaker cables to ensure that the signal transfer is perfect. Your Denon X4800H connects a piece of cake with colour-coded terminals. Once your speakers are wired up, move on to connecting your subs. If running two or more subs, use the sub-pre-outs on the receiver for optimum bass management.
Step 3: Connect Your TV, Blu-ray, and Other Devices
With the speakers in place, it’s time to connect your other equipment. The Denon X4800H sports a set of 8 HDMI inputs and three outputs, meaning you can connect your 4K Blu-ray player, gaming console, streaming devices, and more.
Use high-speed HDMI cables that support 4K and HDR. In gaming, this is especially supported by 4K/120Hz pass-through for smooth visuals from the latest consoles, such as PS5 and Xbox Series X. And it’s ready for 8K if you want to future-proof your setup.
Step 4: Calibrate with Audyssey
One of the coolest features of the Denon AVC-X4800H is Audyssey MultEQ XT32 room calibration. This system will automatically optimise your speaker setup for your room’s unique acoustics.
Take the included microphone, plug it into the receiver, and follow the on-screen instructions for using Audyssey. This system will measure sound from multiple listening positions, changing speaker levels and crossover settings for a perfectly balanced soundstage.
Step 5: Customise Your Sound
Once Audyssey has done its magic, you may want to tweak things further. The Denon X4800H has loads of options for customization-from tone controls to speaker distances. If you like your bass a little stronger or your dialogue crisper, you can do that here.
Step 6: Enjoy Immersive Surround Sound
Now that everything is connected, calibrated, and fine-tuned, it’s time to kick back and enjoy. Whether you’re watching the latest blockbuster in Dolby Atmos, gaming with stunning 4K visuals, or listening to your favourite music in Hi-Res Audio, the Denon X4800H delivers an incredible experience.
Conclusion
Setting up your Denon AVC-X4800H for optimal home theatre performance isn’t too complicated, but it does take some attention to detail. By following these steps, you’ll ensure that you’re getting the most out of your system—whether it’s for movies, gaming, or music.


