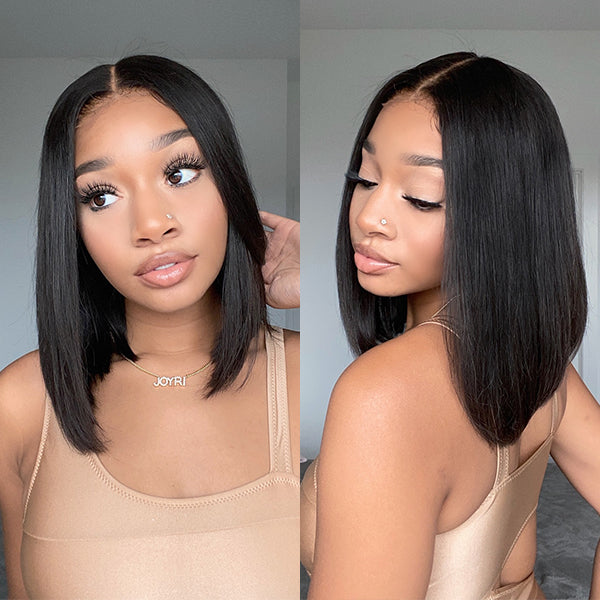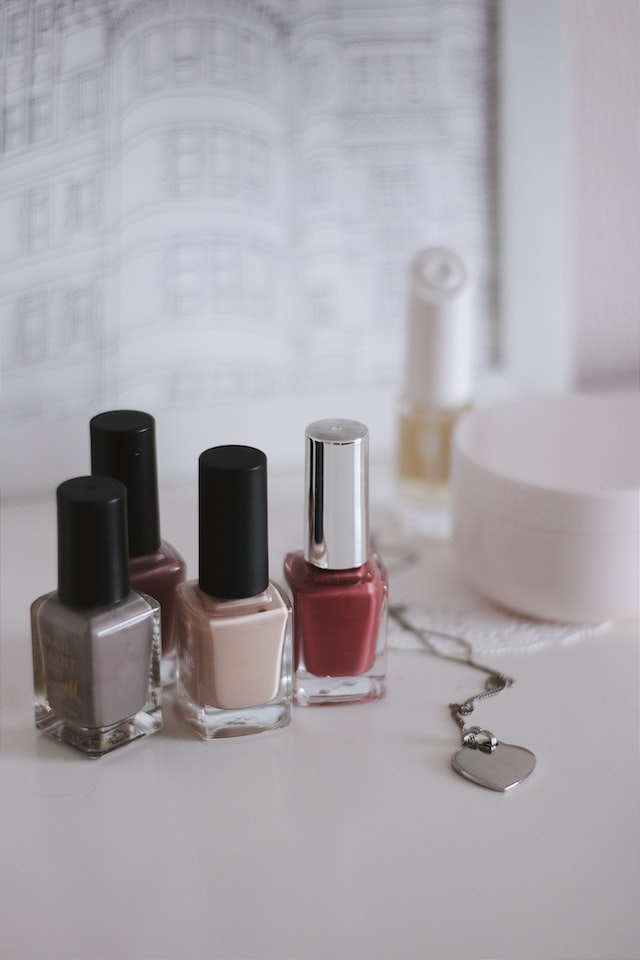
Women love fun, bold, and unique nail art such as ombre nails. However, choosing the perfect color for nail polish can be challenging. There are many nail gel colors, with different shades and all look inviting.
But did you know that you can mix two shades to create ombre nails? However, the two colors you choose should match. While this nail technique is trending among women, it needs the expertise to get the best out of it. When done by a nail specialist, it is easy and seamless, and it takes a short time to achieve. There are different ways nail artists get ombre nails. Here is all you need to know about these nails.
- What To Do Before You Blend
The urge to get ombre nails might make you forget some essential steps. Before you begin blending the colors, you should choose them wisely. Note that there are many colors with different shades, and they all don’t match. Colors are the primary determinant of the final look, and they can make or break your ombre nails. When choosing, get colors with similar shades and tones.
Ensure the colors complement each other perfectly. For example, you can get pink and orange or teal and blue. You can also try bold colors like black and white or let the client choose the colors.
The other important factor to consider is the nail shape. If the client has long nails, ensure you get them a subtle, minimal nail art. The bolder and darker colors will look great on the shorter nails. If you are ready with your colors, you can start.
- Ombre Methods To Try
Nail artists use two main methods to get ombre nails for their clients. Read on to know the one you would prefer to use.
- The Sponged Style
The sponged ombre nails method is mainly used by nail artists who use traditional nail polish. It is an easy-to-do method, and you can try it. Before you start, ensure you have a wedge-shaped makeup sponge that you will use to blend the other polish color. You should also have two polished colors that will match. These steps will help you to get ombre nails.
- Cut the makeup sponge into a thin strip. It ensures you apply the polish when doing ombre on the nail and not on other finger parts. A thin sponge strip will also give you less time to clean the surrounding skin.
- Apply a base coat and wait for it to dry a little. Then, you can apply a thin layer of the lighter polish and let it dry.
- Once the first layer has dried, apply the two polish shades on the thin strip of makeup sponge in two parallel lines.
- Tap the sponge on the nail lightly. Do this for the next two nails and reapply the polish on the sponge again. You should also move the sponge slightly up and down the nail to ensure no line where the colors meet.
- Repeat these steps until the nails get the desired ombre.
- Use a cotton swab with polish remover to clean the areas around the nails that have gotten the polish and finish with a topcoat.
- The Brushed Blend
If you are using modern nail gel, you should use the brushed blend method to get an ombre nails look. These steps will guide you.
- Apply a base coat and put the nail under the UV to dry. The following step is to apply a chosen gel color on the left side of the nail, ensuring it is slightly past the center.
- Apply the second color to the other side of the nail and use a brush to blend the two. You should strike slowly downward until the colors mix. Ensure you clean the mixing brush with a lint-free nail wipe before it dries.
- Remove the excess gel on the skin and dry the nails under the UV lamp.
- repeat the second and third steps until you get your desired look
- Apply top coat and let the nails dry.