Pictures speak louder than words. In every social media platform, professional websites and online businesses, photographs have taken center-stage. As much as photographs are imperative, their professional photo editor is just as equally an indispensable commodity.
Here are a few simple photo editing guidelines by a professional photo editor to entice viewers with your beguiling pictures.
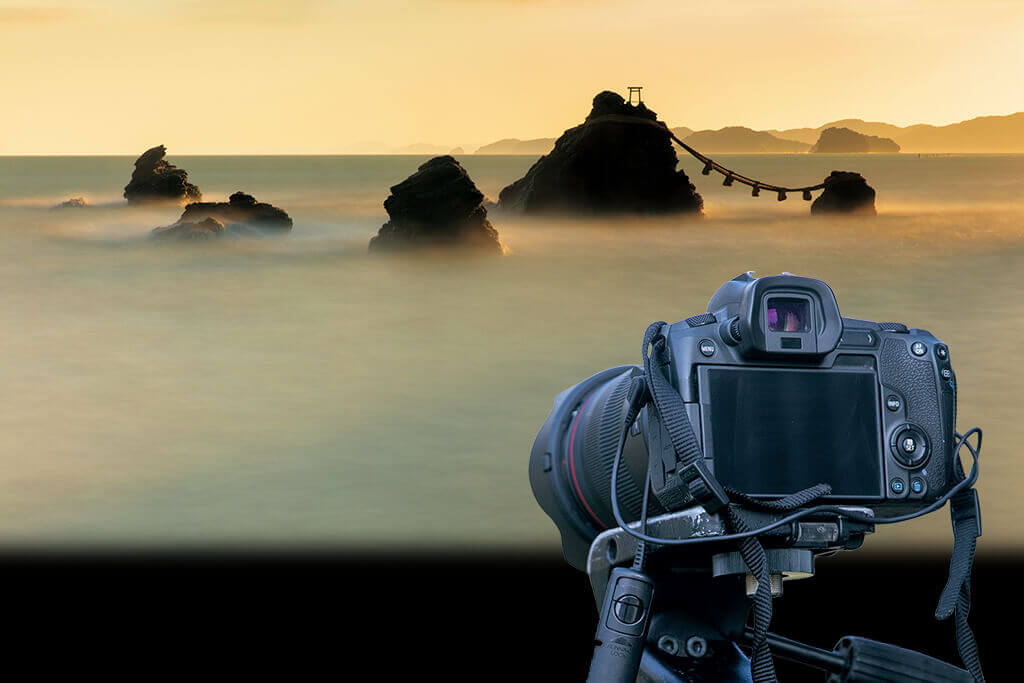
1. Don’t always center the subject
Believe it or not, but the main subject doesn’t necessarily have to be in the middle of the frame for them to be declared the protagonist of your picture. A model standing on one side of the frame or the focal point appearing from a side is just as eye-catching, or perhaps more!
Of course, this means that the rest of the photograph needs to be adequately edited so that it doesn’t steal the spotlight from the main subject. Make the surroundings blur but not dull; adjust colors so that a dim background is highlighting an illuminated foreground.
2. Straighten the picture
An askew photo does not pertain to just a crooked horizon, but also to a slanted perspective in which all horizontal and vertical lines are tilted. Turning on the “Grid” of your camera or mobile phone ensures a straightened image or it can later be rectified through professional photo editor tools like Photoshop.
- Aligning the horizon
- Click “Ctrl/Cmd+C” (crop tool).
- Select the “Straighten” icon sitting on the top left in the tool palette (below the menu).
- Bring the cursor down – click and hold on the ‘horizon’ and drag from one end to the other. Auto rotation of the picture will take place.
- Click “Return” and “Enter” and voila! The ‘horizon’ will be fixed.
- Perspective distortion tool
- Go to “Filter – Camera Raw Filter”.
- Press “Shift+T” or select the “Transform Tool” placed at the top the “Camera Raw” dialogue box.
- Now, opt for any of the four “Upright” modes in the dialogue box – “Auto”, “Level”, “Vertical” and “Full”. They all offer different results; choose what suits your taste (though “Auto” brings out the best balance when correcting the perspective of an image).
- After selecting one setting, further refine the look by adjusting the sliders available below, namely “Vertical”, “Horizontal”, “Rotate”, “Aspect”, “Scale”, “Offset X” and “Offset Y”.
- If you want to change it, hold the “Alt/Option” key on your keyboard and the “Cancel” option becomes “Reset”. Click it to begin again.
3. Cropping extra space
Any additional area around the main subject can easily divert the viewer’s attention. Cropping it will, hence, ensure that no distracting elements are present to fight for attention.
- Use the “Rectangular selection tool” to make a selection around the area you wish to keep.
- Select the “Crop” tool from the tool palette or click “Ctrl/Cmd+C” and the unselected portion will disappear.
- Do not tick the “Delete Cropped Pixel” option as Photoshop automatically deletes the cropped part of the image; if you want to revert your crop, it won’t be possible as it would have been deleted.
4. “Shadows” and “Highlights”, and “Contrast”
A strong sunlight can significantly underexpose or overexpose a stunning setting. Following are the general steps that are followed for every such picture to recover their details:
- Decrease the “Highlights” by moving its slider to the left – the white or lightest parts of the image recover their features.
- Increase the “Shadows” by moving its slider to the right – the constituent components of the black or darkest tones are restored.
- Increase or decrease the “Contrast” as required – it accentuates the difference between the darkest and lightest shades or mellows down the glaring contrast created, respectively.
The extent to which these sliders are moved depends on the degree of “Shadows” and “Highlights” correction required on the picture.
Note that;
- A “RAW” image retains a much wider dynamic and color range, therefore, making the recovery of details of the under or overexposed areas very feasible.
- A “JPEG” format, on the other hand, contains compressed data, proving it as not an ideal option for the recovery of details, though an appropriate image quality remains.
5. “Saturation” and “Vibrance”
Colors give a photo life, but their dimness can instead suck life out of them entirely. Avoid such underwhelming effect through adequately adjusting “Saturation” and “Vibrance”.
- Saturation – colorizing an otherwise dull looking photo, it polishes an image by enhancing its overall colors. Underexposed areas can considerably diminish the grandeur of an impeccable scene. “Saturation” is, hence, a great tool to give a photograph an invigorating feel.
- Vibrance – unlike “Saturation” which intensifies the whole picture, “Vibrance” focuses solely on the muted areas of the image. This is especially suitable for improving skin tones which can become overexposed through “Saturation”.
6. “White Balance”
As the name suggests, “White Balance” is what makes white appear as white. On the other hand, it balances the other shades as well by adding their complementary color temperatures.
In some professional photo editors, the “White Balance” option is present on top of the “Adjustment” panel, while in Photoshop, it will be found by going to “Filter – Camera Raw Filter”. This will open a dialogue box, offering the “White Balance” adjustment settings (Temperature and Tint sliders), including other color correction modes (Exposure, Contrast, Highlights etc.).
- Move the sliders of “Temperature” (changes the yellow or blue hues), “Tint” (regulates green or magenta) and “Vibrance” (though not part of “White Balance”, decreasing it at the end gives a pleasant naturalness) to achieve “White Balance”.
- Or you can simply use the eyedropper tool placed above the “Temperature”. Select it, click any spot on the image that is white and it will automatically adjust the “White Balance” of your photograph.
Note that in a “JPEG” file, you will have to go to “Filter – Camera Raw Filter” to open “White Balance”, while for a “RAW” file, a “Camera Raw” will automatically open.
Lastly, this isn’t a tip, but for those who don’t wish to spend money on paid photo editor tools – Adobe Photoshop, for instance, which is available only through the Creative Cloud subscription requiring a monthly or annual fee – opting for free photo editing softwares (Adobe Lightroom and VSCO) is also practical. They offer the same high-end services, not to mention, there are some also available on mobile phones! Examples include Snapseed and Lightroom Express (a smartphone version of Adobe Lightroom). Talk about making life easy! Or hire professional photo editor to make it even easier.
Also read about different lens filter sizes in Xeen Cine Cameras