Your car battery will not remain in good condition forever. Over time, its ability to hold a charge diminishes due to aging. Eventually, your car will fail to ignite as you try to start it, and you may need to find a solution, especially when you’re in a hurry to get to a destination. While a more permanent solution is to get a new battery or recondition your old battery, you can jumpstart your car in the short run.
The process of jumpstarting a car—as straightforward as it is—needs to be done carefully. In a bid to quickly get back on track, most drivers dash through the process, taking unnecessary risks. This could be disastrous. Here are some safety tips for jumping your vehicle to prevent any unfortunate events.
Inspect Your Battery for Damages
Always check your battery for any bulges, swollen areas, cracks, or leaks before doing anything on them, including jumping. If you find any damage, avoid jumpstarting the battery. The same applies to the jumper cables and leads, which should be in good condition before use.
In low temperatures, inspect the battery for signs of freezing. If present, put it in a warm place and allow it to thaw. Do not attempt to jumpstart a frozen battery, as it could explode.
Remove Your Jewelry Beforehand
Before starting the jumpstart process, ensure to take off any jewelry on your wrists, hands, or fingers at that moment. Most jewelry is made from conductive metals capable of pulling a charge and resulting in a shock if they come in contact with your battery terminal. This is even more likely if there’s a layer of sweat between the item and your skin. So, protect yourself and eliminate that risk by removing the jewelry beforehand.
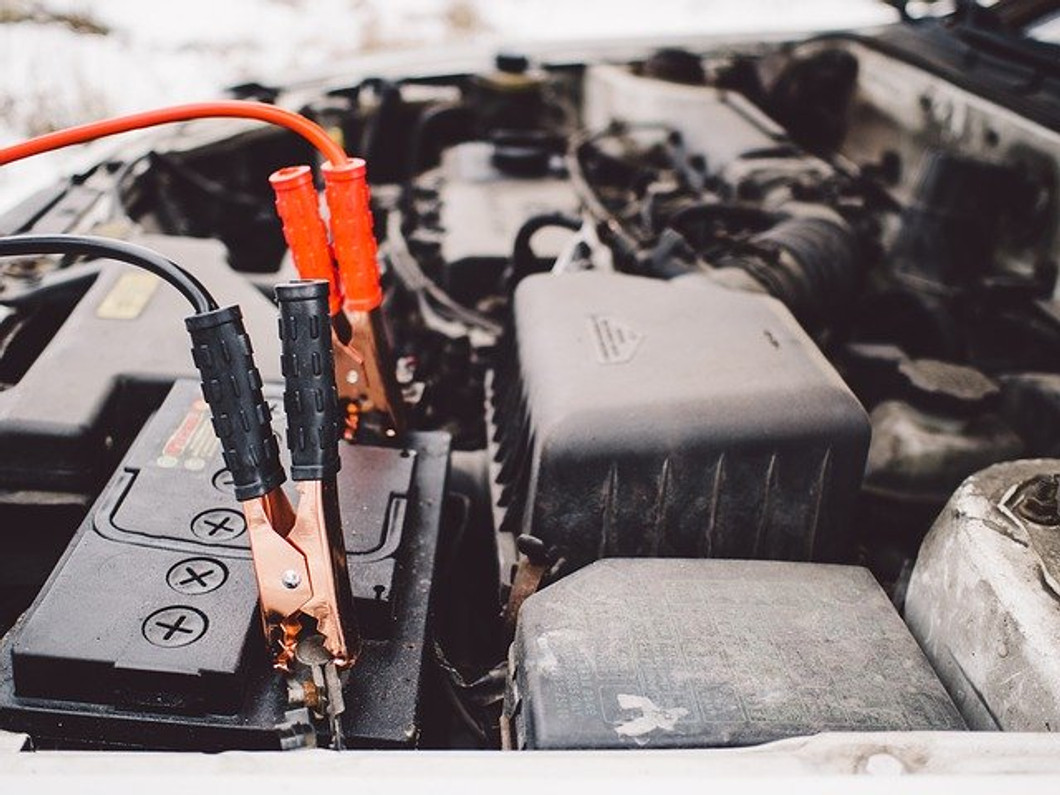
Install the Jumper Cables in the Correct Order
Orderliness reduces the likelihood of a mistake, and disorderliness increases it. Following a systematic approach when jumpstarting your car ensures you don’t miss anything.
First, connect the positive (red) jumper cable to the weak battery’s positive terminal. Then, connect the other end of the positive cable to the donor battery’s positive terminal. Proceed to couple one end of the negative (black) cable to the donor battery’s negative terminal before grounding the other end of the cable to an unpainted area in the car with the weak battery.
Do Not Allow the Jumper Cables To Hang Freely
While working with your jumper cables, ensure they don’t dangle around because this could cause several problems. For example, you could get electrocuted if it hits a puddle. You could also fry your battery if the negative and positive ends come in contact.
Remove Jumper Cables in the Reverse Order of Installation
Removing the jumper cables correctly is just as important as coupling them. Here’s how to do this:
- Decouple the black (negative) jump lead connected to the vehicle with the weak battery.
- Decouple the other end of the black (negative) jump lead connected to the donor battery.
- Do the same for the red (positive) jump leads, starting with the part connected to the donor battery.
Jumping a car is a fairly straightforward process. Implement all the necessary safety measures, and you should have nothing to worry about.